Jenis, Macam-macam Processor & Media Penyimpanan Komputer - Pada kali ini admin akan membahas dan mempublikasikan mengenai Tugas yang telah diberikan oleh Pak Arya, S.Pd mengenai Jenis Processor, Macam-macam Processor & Media Penyimpanan Komputer.
Soal
Update blog pribadi dengan materi Perakitan Komputer berisi tentang :
- Macam-macam Processor
- Jenis-jenis Socket Processor
- Media Penyimpanan Komputer (RAM & jenis-jenisnya, FDD, HD & jenis-jenisnya dan Optical Drive & jenis-jenisnya)
Jawaban
MACAM-MACAM PROCESSOR
1. Intel
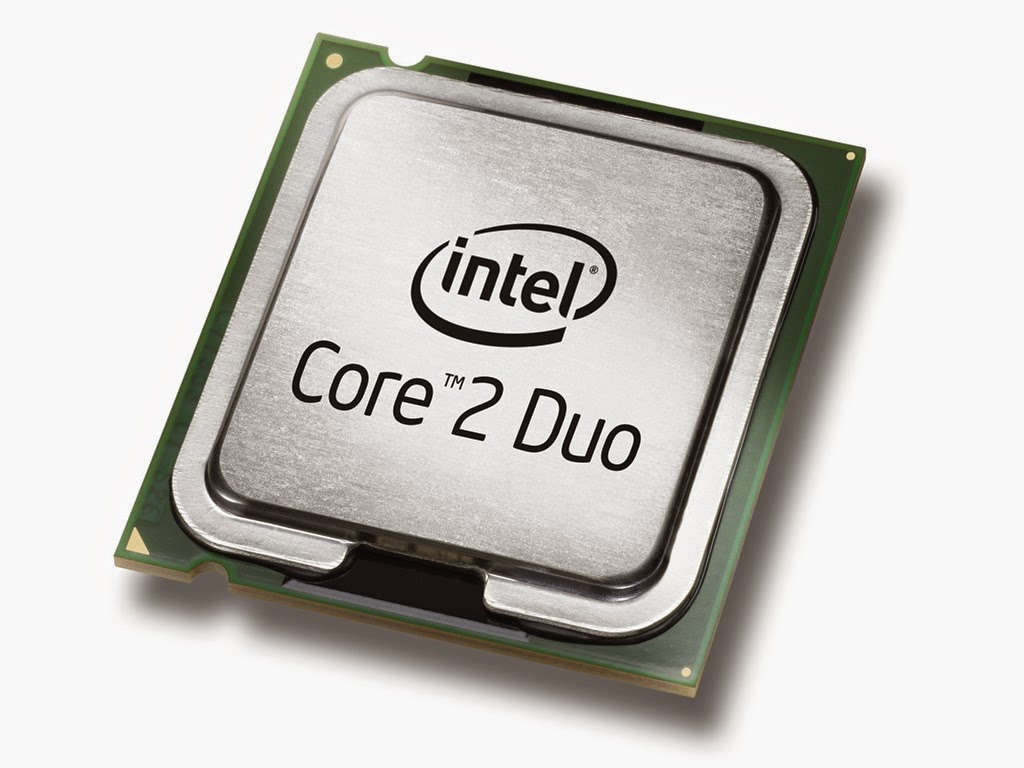 |
| Gb. 1 Intel Processor |
Intel adalah perusahaan multinasional yang didirikan pada tahun 1968, berpusat di Amerika Serikat yang terkenal dengan produksi dan rancangan dalam mikroprosesor.
2. AMD
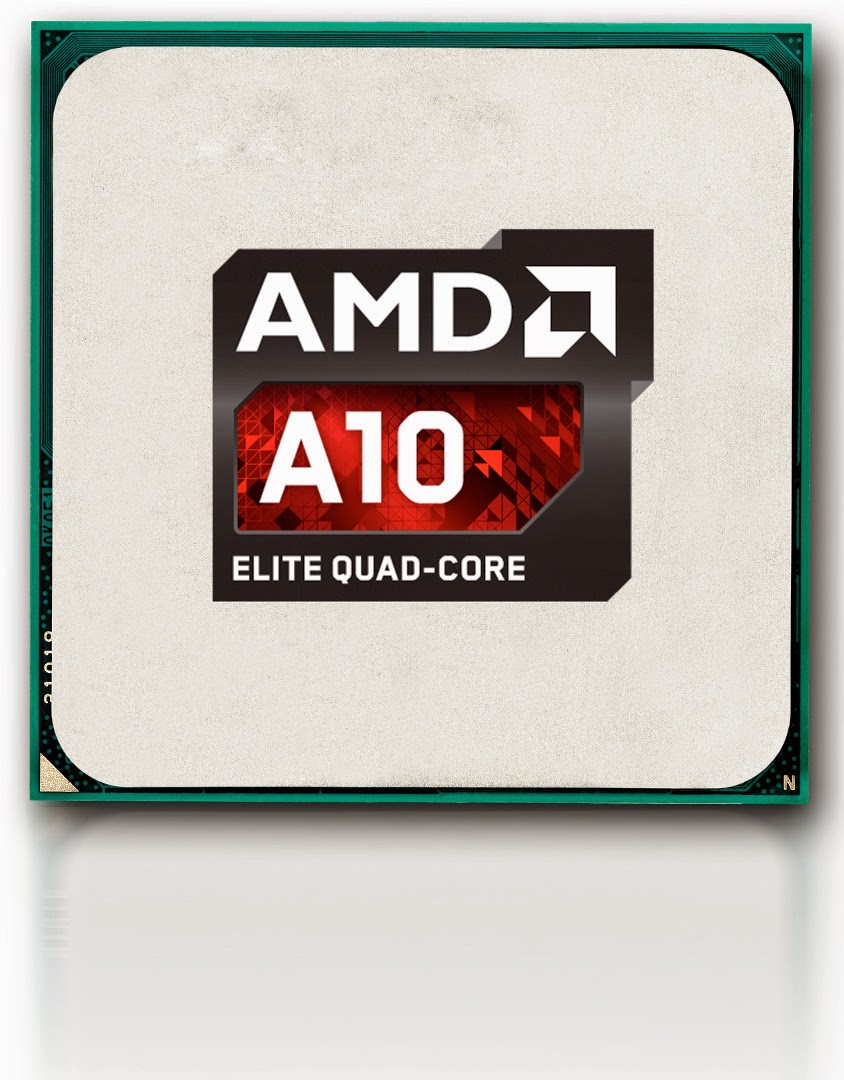 |
| Gb. 2 AMD Processor |
AMD (Advanced Micro Processor) adalah perusahaan semi-konduktor yang multinasional yang berbasis di California yang mengembangkan produk prosesor pada komputer dan yang terkait untuk komersial maupun konsumen.
3. ARM
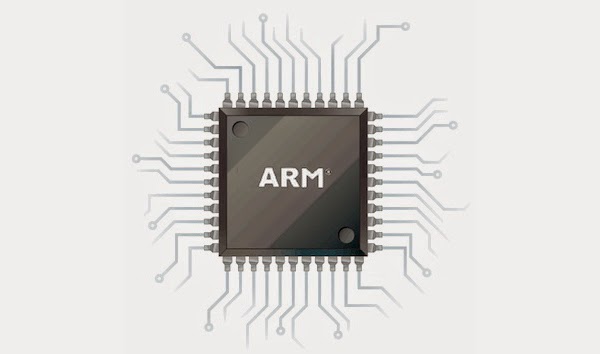 |
| Gb. 3 ARM Processor |
ARM adalah arsitektur yang prosesornya 32-bit RISC yang dikembangkan oleh ARM Limited.
4. Cyrix
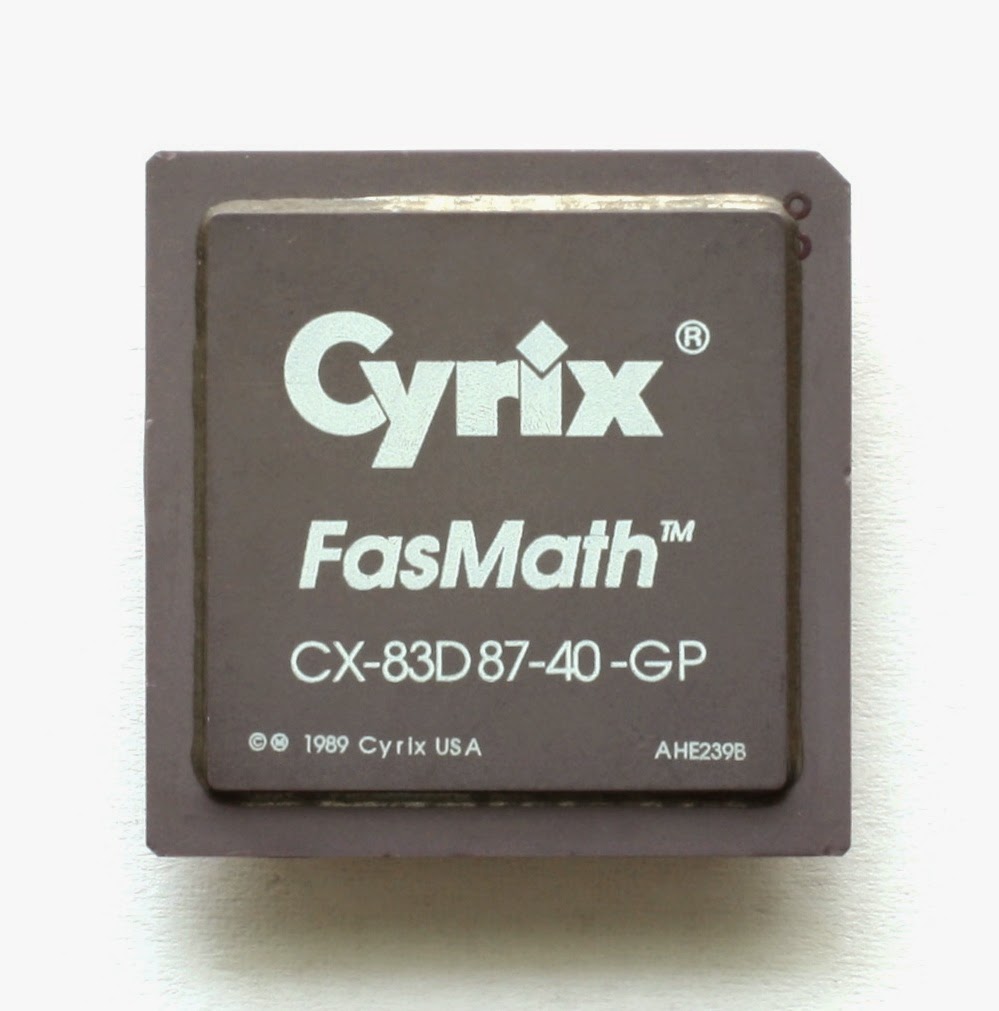 |
| Gb. 4 Cyrix Processor |
Cyrix adalah perusahaan pengembang mikroprosesor yang didirikan pada tahun 1988 di Texas sebagai pemasok prosesor performa tinggi.
5. Transmeta
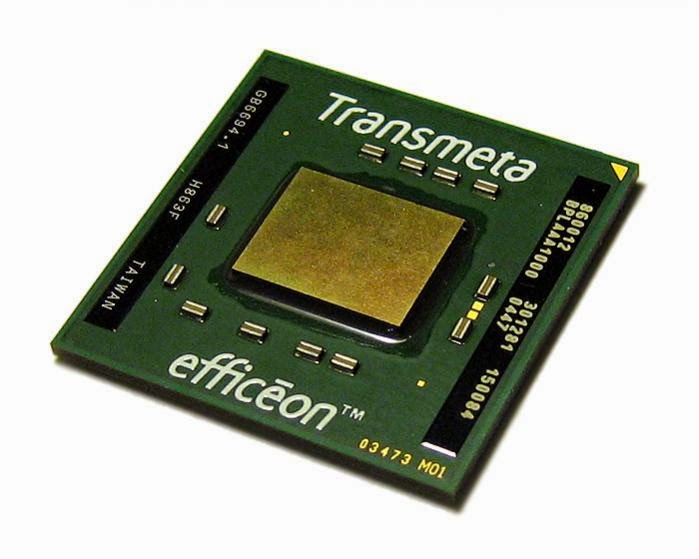 |
| Gb. 5 Transmeta Processor |
Transmeta adalah perusahaan semi konduktor mikroprosesor Amerika yang berada di California.
6. Via
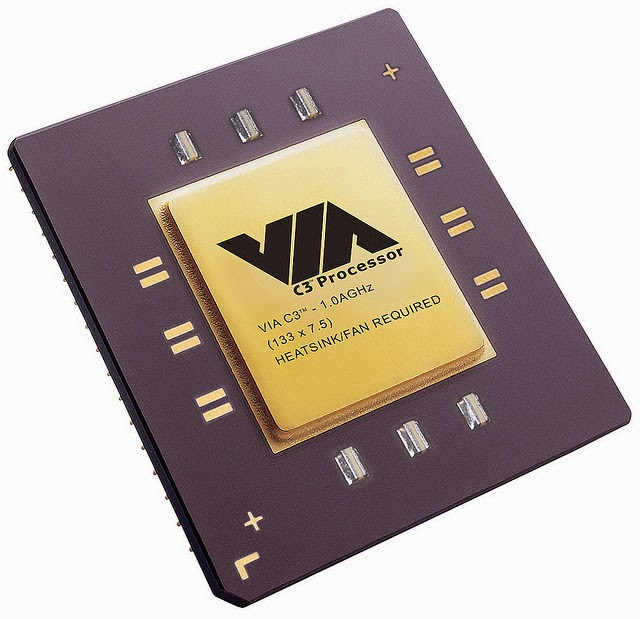 |
| Gb. 6 Via Processor |
Via adalah perusahaan chipset yang berlokasi di Taiwan, juga merupakan bagian dari Formosa Plastics Group.
JENIS-JENIS SOCKET PROCESSOR
JENIS-JENIS SOCKET & PROCESSOR YANG COMPATIBLE
1. Intel
Socket 370.
Processor yang Compatible : Pentium III, Celeron, Pentium IV, Celeron D, Pentium M, Pentium HT, Pentium IV Extreme Edition.
Socket LGA 775
Processor yang Compatible : Pentium D, Celeron D, Pentium Extreme Edition, Core 2 duo, Core 2 extreme, Core 2 quad, Xion 3000 series.
Socket LGA 1366
Processor yang Compatible : Core i7 705, Extreme Edition Core i7 940, Core i7 320
2. AMD
Socket 704
Processor yang Compatible : Athlon XP/Sempron
Socket AM2
Processor yang Compatible : Athlon XP
Socket AM2+
Processor yang Compatible : AM2+
Socket A/46 2
Processor yang Compatible : Athlon Thunderbird, Athlon XP/MP 3200t Duran, Sempron
Socket 939
Processor yang Compatible : Athlon 64 Geode
Socket 940
Processor yang Compatible : CPU of Theron
- Socket DIP, Tahun Perkenalan 1970an, Keluarga CPU yang mendukung Intel 8086, Kemasan DIP, Jumlah Pin 40 dan Kecepatan Bus 5/10MHz.
- Socket PLCC, Keluarga CPU yang mendukung Intel 80186-Intel 80286-Intel 80386, Kemasan PLCC, Jumlah Pin 68,132 dan Kecepatan Bus 6-40MHz.
- Socket 1, Tahun Perkenalan 1989, Keluarga CPU yang mendukung Intel 80486, Kemasan PGA, Jumlah Pin 169 dan Kecepatan Bus 16-50MHz.
- Socket 2, Keluarga CPU yang mendukung 80486, Kemasan PGA, Jumlah Pin 238 dan Kecepatan Bus 16-50MHz.
- Socket 3, Tahun Perkenalan 1991, Keluarga CPU yang mendukung 80486, Kemasan PGA, Jumlah Pin 237 dan Kecepatan Bus 16-50MHz.
- Socket 4, Keluarga CPU yang mendukung Intel Pentium, Kemasan PGA, Jumlah Pin 273 dan Kecepatan Bus 60-66MHz.
- Socket 5, Keluarga CPU yang mendukung Intel Pentium-AMD K5-Cyrix 6x86-IDT WinChip C6-IDT WinChip 2, Kemasan PGA, Jumlah Pin 320 dan Kecepatan Bus 50-66MHz.
- Socket 6, Keluarga CPU yang mendukung Intel 80486, Kemasan PGA dan Jumlah Pin 235.
- Socket 7, Tahun Perkenalan 1994, Keluarga CPU yang mendukung Intel Pentium-Intel Pentium MMX-AMD K6, Kemasan PGA, Jumlah Pin 321 dan Kecepatan Bus 50-66MHz.
- Super Socket 7, Tahun Perkenalan 1998, Keluarga CPU yang mendukung AMD K6-2-AMD K6-2+-AMD K6-III-AMD K6-III+-Rise mP6-Cryix MII, Kemasan PGA, Jumlah Pin 321 dan Kecepatan Bus 66-100MHz.
- Socket 8, Tahun Perkenalan 1995, Keluarga CPU yang mendukung Intel Pentium Pro, Kemasan PGA, Jumlah Pin 387 dan Kecepatan Bus 60-66MHz.
- Slot 1, Tahun Perkenalan 1997, Keluarga CPU yang mendukung Intel Pentium II-Intel Pentium III, Kemasan Slot, Jumlah Pin 242 dan Kecepatan Bus 66-133MHz.
- Slot 2, Tahun Perkenalan 1998, Keluarga CPU yang mendukung Intel Pentium II Xeon, Kemasan Slot, Jumlah Pin 330 dan Kecepatan Bus 100-133MHz.
- Socket 463/NexGen, Keluarga CPU yang mendukung NexGen Nx586, Kemasan PGA, Jumlah Pin 463 dan Kecepatan Bus 37.5-66MHz.
- Socket 587, Keluarga CPU yang mendukung Alpha 21164A, Kemasan Slot dan Jumlah Pin 587.
- Slot A, Tahun Perkenalan 1999, Keluarga CPU yang mendukung AMD Athlon, Kemasan Slot, Jumlah Pin 242 dan Kecepatan Bus 100MHz.
- Slot B, Keluarga CPU yang mendukung Alpha 21264, Kemasan Slot dan Jumlah Pin 587.
- Socket 370, Tahun Perkenalan 1999, Keluarga CPU yang mendukung Intel Pentium III-Intel Celeron-Via Cyrix III-Via C3, Kemasan PGA, Jumlah Pin 370 dan Kecepatan Bus 66-133MHz.
- Socket 462/Socket A, Tahun Perkenalan 2000, Keluarga CPU yang mendukung AMD Athlon-AMD Duron-AMD Athlon XP-AMD Athlon XP-M-AMD Athlon MP-AMD Sempron, Tipe Komputer Desktop, Kemasan PGA, Jumlah Pin 462 dan Kecepatan Bus 100-200MHz.
- Socket 423, Tahun Perkenalan 2000, Keluarga CPU yang mendukung Intel Pentium 4, Kemasan PGA, Jumlah Pin 423, dan Kecepatan Bus100MHz.
- Socket 478/Socket N, Tahun Perkenalan 2000, Tahun Selesai 2007, Keluarga CPU yang mendukung Intel Pentium 4-Intel Celeron-Intel Pentium 4 EE-Intel Pentium 4 M, Kemasan PGA, Jumlah Pin 478 dan Kecepatan Bus 100-200MHz.
- Socket 495, Tahun Perkenalan 2000, Keluarga CPU yang mendukung Intel Celeron-Intel Pentium III, Kemasan PGA, Jumlah Pin 495 dan Kecepatan Bus 66-133MHz.
- PAC418, Tahun Perkenalan 2001, Keluarga CPU yang mendukung Intel Itanium, Kemasan PGA, Jumlah Pin 418 dan Kecepatan Bus 133MHz.
- Socket 603, Tahun Perknelan 2001, Keluarga CPU yang mendukung Intel Xeon, Kemasan PGA, Jumlah Pin 603 dan Kecepatan Bus 100-133MHz.
- PAC611, Tahun Perkenalan 2002, Keluarga CPU yang mendukung Intel Itanium 2-HP PA-8800-PA-8900, Kemasan PGA dan Jumlah Pin 611.
- Socket S1, Tahun Perkenalan 2002, Keluarga CPU yang mendukung Intel Xeon, Kemasan PGA, Jumlah Pin 604 dan Kecepatan Bus 100-266MHz.
- Socket 754, Tahun Perkenalan 2003, Keluarga CPU yang mendukung AMD Athlon 64-AMD Sempron-AMD Turion 64, Kemasan PGA dan Kecepatan Bus 200-800MHz.
- Socket 940, Tahun Perkenalan 2003, Keluarga CPU yang mendukung AMD Opteron Athlon 64 FX, Kemasan PGA, Jumlah Pin 940 dan Kecepatan Bus 200-1000MHz.
- Socket 479, Tahun Perkenalan 2003, Keluarga CPU yang mendukung Intel Pentium M-Intel Celeron M, Kemasan PGA, Jumlah Pin 479 dan Kecepatan Bus 100-133MHz.
- Socket 939, Tahun Perkenalan 2004, Tahun Berakhir 2008, Keluarga CPU yang mendukung AMD Athlon 64-AMD Athlon 64 FX-AMD Athon 64 X2-AMD Opteron, Tipe Komputer Desktop, Kemasan PGA, Jumlah Pin 939 dan Kecepatan Bus 200-1000MHz.
- LGA 775/Socket T, Keluarga CPU yang mendukung Intel Pentium 4-Intel Pentium D-Intel Celeron-Intel Celeron D-Intel Pentium XE-Intel Core 2 Duo-Intel Core 2 Quad-Intel Xeon, Tipe Komputer Desktop, Kemasan PGA, Jumlah Pin 775 dan Kecepatan Bus 1600MHz.
- Socket 563, Keluarga CPU yang mendukung AMD Athlon XP-M, Kemasan PGA dan Jumlah Pin 563.
- Socket M, Tahun Keluaran 2006, Keluarga CPU yang mendukung Intel Core Solo-Intel Core Duo-Intel Dual Core Xeon-Intel Core 2 Duo, Tipe Komputer Notebook, Kemasan PGA, Jumlah Pin 478 dan Kecepatan Bus 133-166MHz.
- LGA 771/Socket J, Tahun Perkenalan 2006, Keluarga CPU yang mendukung Intel Xeon, Tipe Komputer Server, Kemasan PGA, Jumlah 771 dan Kecepatan Bus 1600MHz.
- Socket S1, Tahun Perkenalan 2006, Keluarga CPU yang mendukung AMD Turion 64 X2, Kemasan PGA, Jumlah Pin 638 dan Kecepatan Bus 200-800MHz.
- Socket AM2, Tahun Perkenalan 2006, Keluarga CPU yang mendukung AMD Athon 64-AMD Athlon 64 X2, Kemasan PGA, Jumlah Pin 940 dan Kecepatan Bus 200-100MHz.
- Socket F/Socket L (Socket 1207FX), Tahun Perkenalan 2006, Keluarga CPU yang mendukung AMD Athlon 64 FX-AMD Opteron, Tipe Komputer Server Desktop, Kemasan PGA, Jumlah Pin 1207 dan Kecepatan Bus 1000MHz dalam Single CPU Mode, 2000MHz dalam Dual CPU Mode.
- Socket AM2+, Tahun Perkenalan 2007, Keluarga CPU yang mendukung AMD Athlon 64-AMD Athlon X2-AMD Phenom-AMD Phenom II, Kemasan PGA, Jumlah Pin 940 dan Kecepatan Bus 200-2600MHz.
- Socket P, Tahun Perkenalan 2007, Keluarga CPU yang mendukung Intel Core 2, Tipe Komputer Notebook, Kemasan PGA, Jumlah Pin 478 dan Kecepatan Bus 133-266MHz.
- Socket 441, Tahun Perkenalan 2008, Keluarga CPU yang mendukung Intel Atom, Tipe Komputer Sub-Notebook, Kemasan PGA, Jumlah Pin 441 dan Kecepatan Bus 400-667MHz.
- LGA 1336/Socket B, Tahun Perkenalan 2008, Keluarga CPU yang mendukung Intel Core i7 (900 series)-Intel Xeon (35xx, 36xx, 55xx, 56xx series), Tipe Komputer Server, Kemasan LGA dan Jumlah Pin 1366.
- rPGA 998A,/Socket G1, Tahun Perkenalan 2008, Keluarga CPU yang mendukung Intel Core i7 (600, 700, 800, 900 series)-Intel Core i5 (400, 500 series)-Intel Core i3 (300 series)-Intel Pentium (P6000 series)-Intel Celeron (P4000 series), Tipe Komputer Notebook, Kemasan rPGA dan Jumlah Pin 988 .
- Socket AM3, Tahun Perkenalan 2009, Keluarga CPU yang mendukung AMD Phenom II-AMD Athlon II-AMD Sempron, Kemasan PGA, Jumlah Pin 940/941 dan Kecepatan Bus 200-3200MHz.
- LGA 1156/Socket H, Tahun Perkenalan 2009, Keluarga CPU yang mendukung Intel Core i7 (800 series)-Intel Core i5 (700, 600 series)-Intel Core i3 (500 series)-Intel Xeon (X3400, L3400 series)-Intel Pentium (G6000 series)-Intel Celeron (G1000 series), Tipe Komputer Desktop, Kemasan LGA dan Jumlah Pin 1156.
- Socket G34, Tahun Perkenalan 2010, Keluarga CPU yang mendukung AMD Opteron (6000 series), Kemasan LGA, Jumlah Pin 1974 dan Kecepatan Bus 200-3200MHz.
- Socket C32, Tahun Perkenalan 2010, Keluarga CPU yang mendukung AMD Opteron (4000 series), Kemasan LGA, Jumlah Pin 1207, Kecepatan Bus 200-3200MHz.
- LGA 1248, Tahun Perkenalan 2010, Keluarga CPU yang mendukung Intel Itanium 9300 series, Tipe Komputer Server, Kemasan LGA dan Jumlah Pin 1248.
- LGA 1567, Tahun Perkenalan 2010, Keluarga CPU yang mendukung Intel Xeon 6500/7500 series, Tipe Komputer Server, Kemasan LGA dan Jumlah Pin 1567.
- LGA 1155/Socket H2, Tahun Perkenalan 2011, Keluarga CPU yang mendukugn Intel Sandy Bridge-Intel Ivy Bridge, Tipe Komputer Desktop, Kemasana LGA dan Jumlah Pin 1155.
- LGA 2011/Socket R, Tahun Perkenalan 2011, Keluarga CPU yang mendukung Intel Core i7 3xxx Sandy Bridge E-Intel Xeon E5 2xxx/4xxx-[Sandy Bridge EP] (2/4S)-Intel Xeon E5-2xxx/4xxx v2-[Ivy Bridge EP] (2/4S), Tipe Komputer Desktop Server, Kemasan LGA dan Jumlah Pin 2011.
- rPGA 988B/Socket G2, Tahun Perkenalan 2011, Keluarga CPU yang mendukung Intel Core i7 (2000, 3000 series)-Intel Core i5 (2000, 3000 series)-Intel Core i3 (2000, 3000 series), Tipe Komputer Notebook, Kemasan rPGA dan Jumlah Pin 988.
- Socket FM1, Tahun Perkenalan 2011, Keluarga CPU yang mendukung AMD Llano Processors, Tipe Komputer Desktop, Kemasan PGA dan Jumlah Pin 905.
- Socket AM3+, Tahun Perkenalan 2011, Keluarga CPU yang mendukung AMD FX Vishera-AMD FX Zambezi-AMD Phenom II-AMD Athlon II-AMD Sempron, Tipe Komputer Desktop, Kemasan PGA dan Jumlah Pin 942 (CPU 71 Pin).
- Socket FM2, Tahun Perkenalan 2012, Keluarga CPU yang mendukung AMD Trinity Processors, Tipe Komputer Desktop, Kemasan PGA dan Jumlah Pin 904.
- LGA 1150/Socket H3, Tahun Perkenalan 2013, Keluarga CPU yang mendukung Intel Haswell-Intel Broadwell, Tipe Komputer Desktop, Kemasan LGA dan Jumlah Pin 1150.
- Socket G3, Tahun Perkenalan 2013, Keluarga CPU yang mendukung Intel Haswell-Intel Broadwell, Tipe Komputer Notebook, Kemasan rPGA dan Jumlah Pin 946.
MEDIA PENYIMPANAN KOMPUTER
1. RAM adalah (Random Access Memory) Memori tempat penyimpanan sementara pada saat komputer dijalankan dan dapat diakses secara acak/random.
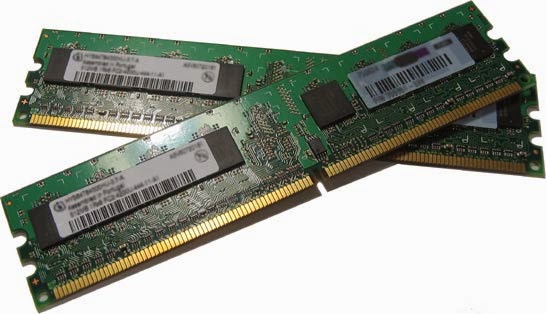 |
| Gb. 7 RAM |
Fungsi RAM mempercepat pemrosesan data yang ada di dalam komputer. Semakin besar RAM yang ada di sebuah Komputer, maka semakin cepat proses di dalam Komputer tersebut.
Jenis-jenis RAM
- RAM (Dynamic RAM) adalah Jenis RAM yang secara berkala harus disegarkan oleh CPU agar data yang ada di dalamnya tidak hilang.
- SDRAM (Synchronous Dynamic RAM) adalah Jenis RAM yang merupakan kelanjutan dari DRAM dan telah disinkronisasi oleh clock sistem serta memiliki kecepatan yang lebih tinggi dari DRAM.
- RDRAM (Rambus Dynamic RAM) adalah Jenis memori yang lebih cepat dan lebih mahal dari SDRAM.
- SRAM (Static RAM) adalah Jenis memori yang tidak memerlukan penyegaran dari CPU agar data yang ada di dalamnya tetap tersimpan dengan baik.
- EDO RAM (Extended Data Out RAM) adalah Jenis memori yang digunakan pada sistem yang menggunakan pentium.
2. FDD adalah (Floppy Disk Drive) Perangkat penyimpanan yang membaca dan menulis informasi ke dalam Floppy Disk, menyimpan data, serta menjalankan sistem operasi.
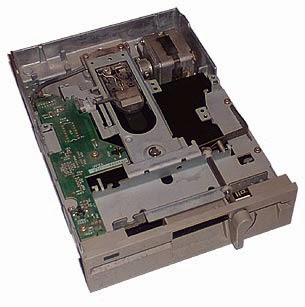 |
| Gb. 8 FDD |
Fungsi FDD menyimpan data dengan memori yang sangat terbatas dengan hanya 1.44Mb saja.
Komponen Floppy Disk Drive
- Write-Protectab
- Hub
- Shutter
- Plactic Housing
- Paper Ring
- Magnetic Disk
- Disk Sector
3. HD adalah Harddisk Komponen perangkat keras bekerja secara sistematis yang menyimpan data sekunder dan berisi sebuah piringan magnetis.
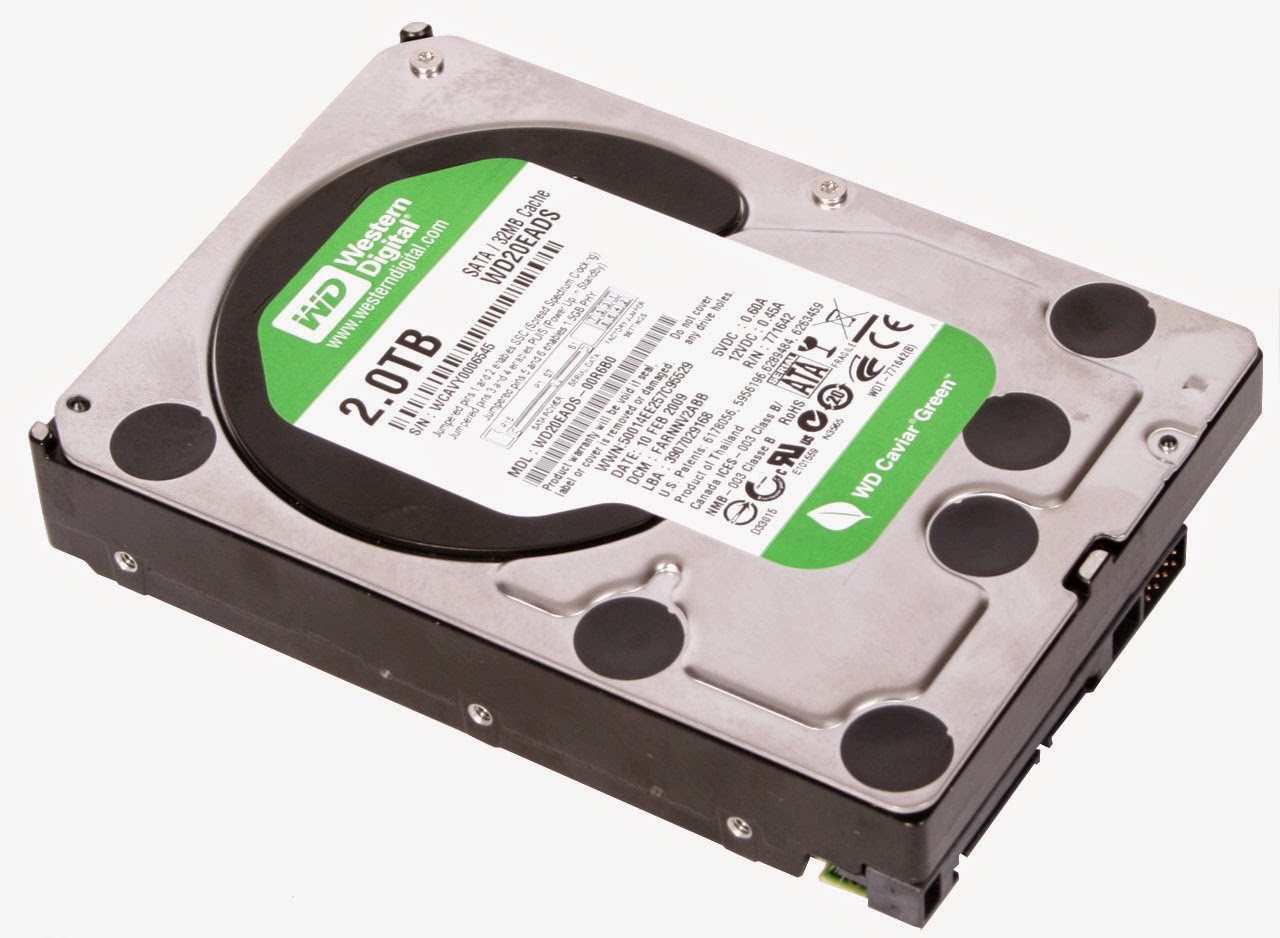 |
| Gb. 9 Harddisk |
Fungsi Harddisk secara umum ialah untuk menyimpan data yang dihasilkan oleh pemrosesan pada suatu pernagkat Komputer/Laptop.
Jenis-jenis Harddisk
- ATA (IDE, EIDE) - Harddisk tipe IDE (Integrated Device Electronics) ini menggunakan port IDE dan memiliki standar kecepatan transfer data sebesar 133 MB untuk setiap detiknya.
- Serial ATA (SATA) - Harddisk tipe SATA (Serial Advanced Technology Attachment) ini menggunakan port SATA. Harddisk tipe ini memiliki kecepatan transfer data sebesar 150 MB setiap detiknya.
- SCSI (Small Computer System Interface) - Harddisk tipe SCSI (Small Computer System Informasi) ini ada penambahan kartu controller untuk pengolah data sebagai eksternal controller yang ditanamkan pada slot bus PCI/ISA.
- Harddisk tipe USB/External Harddisk.
4. Optical Drive adalah perangkat keras yang menyimpan data menggunakan media penyimpanan berupa keping CD/DVD dan dilakukan dengan teknologi optik.
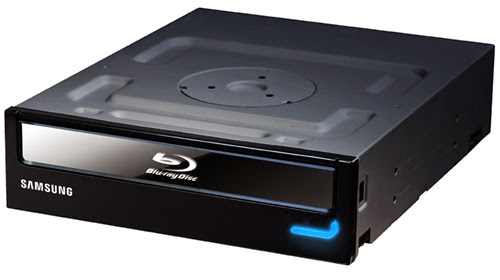 |
| Gb. 10 Optical Drive |
Fungsi Optical Drive adalah melakukan berbagai macam tugas seperti membaca data di dalam komputer dan mendengarkan audio burning CD serta menginstall drive, dsb.
Jenis-jenis Optical Drive
- CD ROM (Compact Disc Read Only Memory) adalah alat yang digunakan hanya untuk sekedar membaca Compact Disk.
- CD RW adalah suatu alat yang mampu menulis dan membaca isi kepingan CD.
- DVD ROM berfungsi untuk membaca DVD dan dapat membaca CD yang bisa dibaca pada CD ROM.
- DVD Combo memiliki kemampuan untuk membaca keping dari CD & DVD juga dapat menulis keping CD akan tetapi pada DVD tidak bisa untuk menulis.
- DVD RW dapat membaca format CD & DVD juga dapat untuk menyimpan data CD & DVD.
- CD/DVD Duplikator suatu teknologi murah yang dapat menggandakan sejumlah CD/DVD bagi para penggunanya.


